


If you would like to add the union bug to your design follow the steps below to add it.
If you already have a logo or design, configuring merch is pretty straightforward.
1. Choose your item
Click on Configure in the menu and choose the type of item you would like to configure. You can also select All Products to see everything we offer for configuration.

Select your product from the products listed.

2. Select any options available
If your product has size or color options, select them on the product page and then click ![]()
If your product doesn't have options, just click ![]()
3. Configuring t-shirts
First select the product side you want to configure. The default is full front, but you can change to other front positions, like pocket designs.


Then click  to upload your logo or design. We recommend that you upload a transparent png or svg file. If your file already has a transparent background, select Keep Original on the Remove White Options. If it has a white background that you would like to remove, select Remove White Background.

Select Full Color for the Color Profile

You can move your logo and resize your design until you like it.

To add the Union bug, click  , then click
  , click Union and select
  . Resize and move the union bug to the position you would like it.
Add a 2nd side
To add a 2nd side, click change product side and select from the back design locations.
Follow the same steps as above to upload your art.
4. Configuring products other than shirts
Then click to upload your logo or design. We recommend that you upload a transparent png or svg file. If your file already has a transparent background, select Keep Original on the Remove White Options. If it has a white background that you would like to remove, select Remove White Background.
Select Full Color for the Color Profile
You can move your logo and resize your design until you like it.

To add the Union bug, click , then click , click Union and select . Resize and move the union bug to the position you would like it.
Add a 2nd side
To add a 2nd side, click change product side and select from the back design locations.
Follow the same steps as above to upload your art.
6. Check out
You can save your design and return back to finish configuring it at anytime.
Once your are done with your design, click Next Step.
Then enter a quantity of 1 and click Get Price.

The price for configuration products is always $0. Complete your configuration order, but clicking

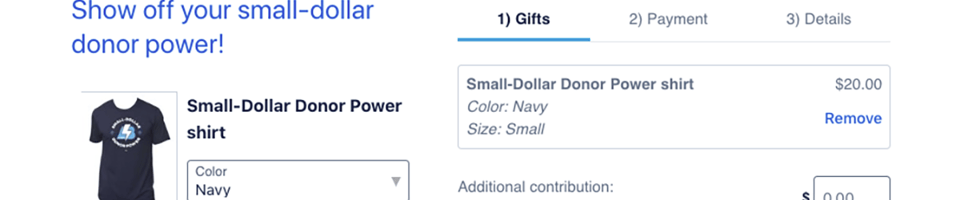
5. Watch for an email with your product details
In roughly one business day, you will get an email with a preview image of the item you configured and the information you need to add it to your ActBlue page.